
Add Signature
(Video Loading)
Steps
1. Open a web browser ![]()
![]()
![]()
2. Open Gmail ![]()
3. Select the "settings" icon ![]() from the top right
from the top right ![]()
4. Select "See all settings" ![]()
5. Scroll down to the "Signature" section

6. Select "Create new" ![]()
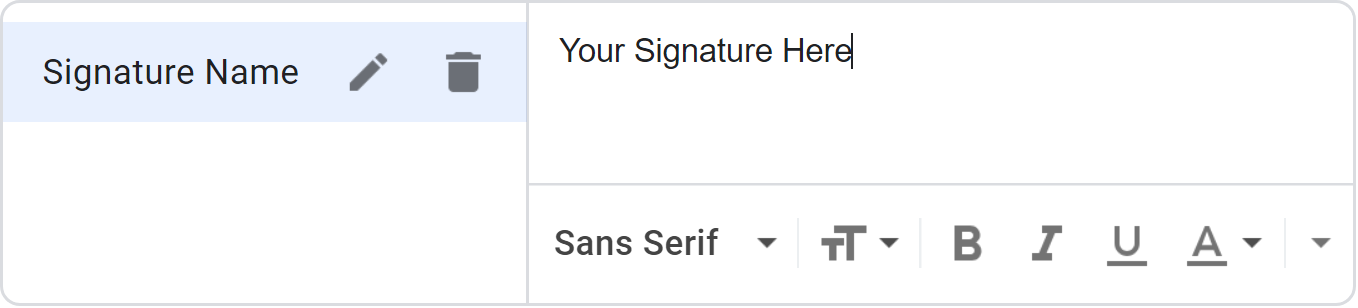
7. Enter a signature name/title ![]() (this is not what will appear in an email)
(this is not what will appear in an email)
8. In the box to the right of your signature name, enter your custom signature. For different styles, an image or link, use the toolbar at the bottom
9. Scroll to the bottom, the select "Save Changes" ![]()
For multiple signatures (work, personal, etc.) repeat steps 6-9
To insert a signature to an email, select the "signature" icon ![]() from the toolbar in an email and choose your signature
from the toolbar in an email and choose your signature![]()
Automatic Signature
By default, you must manually select a signature for every email, or you can set a signature to apply automatically.
(Video Loading)
Steps
1. Select the "settings" icon ![]() from the top right
from the top right ![]()
2. Select "See all settings" ![]()
3. Scroll down to the "Signature" section
4. At the bottom of the section, under "Signature defaults," select the "For new emails use" dropdown
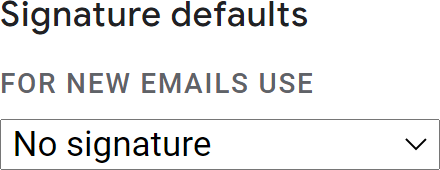
5. Select which signature to automatically display in new emails ![]()
6. Scroll to the bottom and select "Save changes" ![]()
For automatic signatures in forward/replies, repeat steps 4-6 with "For reply/forward use"