Users will sometime need access to export video and audio from a camera. This documentation will cover how to export video and audio from the Milestone Client.
Please note that the camera must support both video and audio recording. The preview will play both sound and video if it is working and is supported.
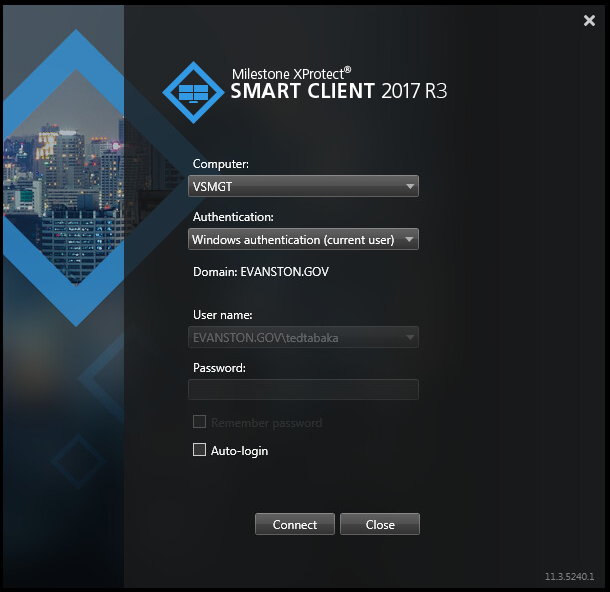
- Open "XProtect Smar Client 2017 R3 (64-bit)" (We plan on using the fat client.)
- Login to Milestone.
- Please note the Computer Name is "VSMGT" and "Windows authentication (current user)"
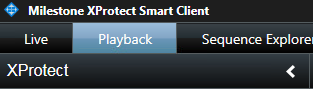
- Select "Playback" Tab.
- Select your camera view that you would like to pull video and audio. You should be able to double click on the view.
- We will be using "Collectors Office Vestibule North - Camera 1" as this camera has both video and audio recording enabled.
- Note: Certain cameras only support video recording capabilities.
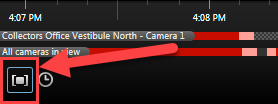
- Click the "Time Selection Mode" button on the lower left corner.
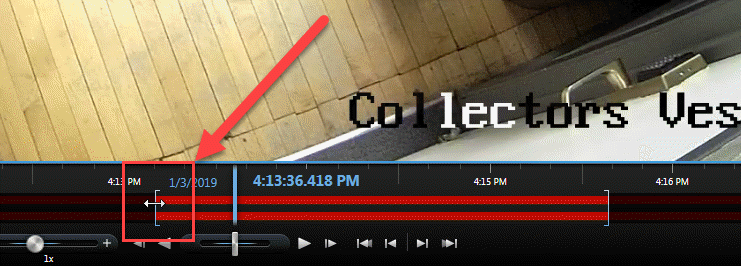
- Select the time frame that you want to be exported. You will need to drag the sliders around to select the appropriate length.
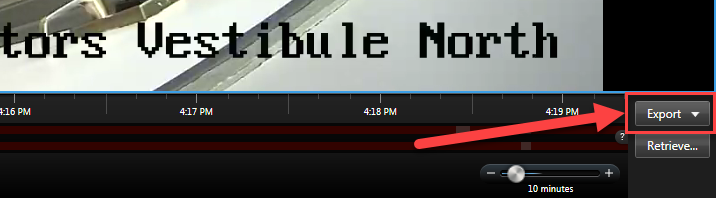
- Click on the "Export" button on the lower right-hand corner.
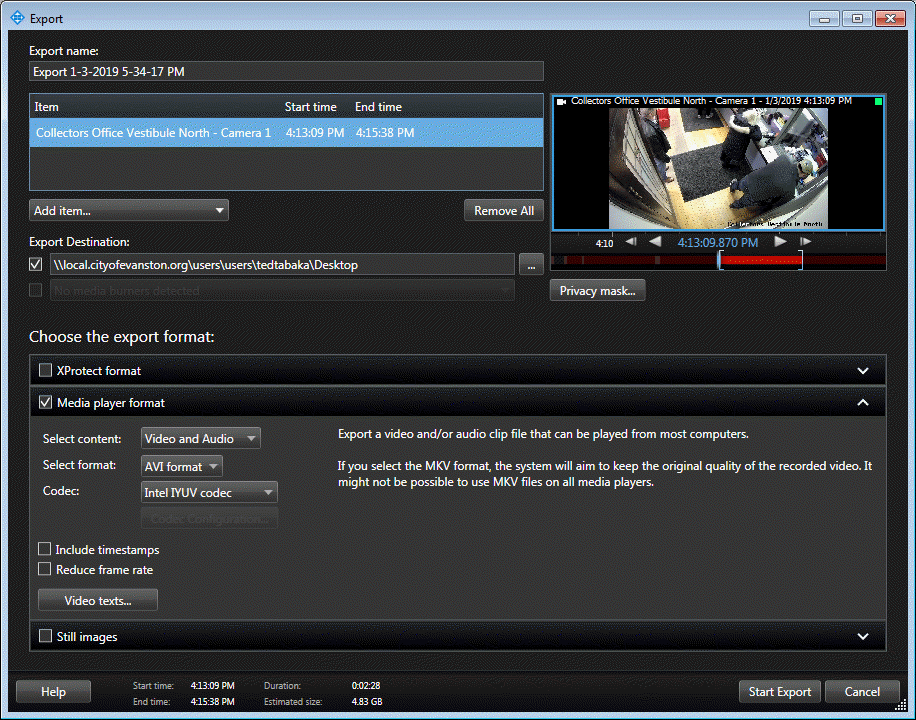
- An "Export" menu will appear.
- Make sure that the item "Start time" and "End time" is correct.
- Set your "Export Destination:". Default location will be your "Desktop" folder location.
- IE: "\\local.cityofevanston.org\users\users\tedtabaka\Desktop"
- Select "Media player format" as "Choose the export format:"
- Make sure that both "Video and Audio" under "Select content" is selected.
- Make sure that "AVI format" is selected under "Select format" is selected.
- Make sure that "Intel IYUV codec" or other under "Codec:" is selected.
- Example:
- Click on "Start Export" button.
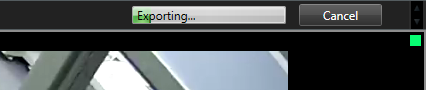
- The export will take place. Text in the upper right-hand corner will display the text "Exporting...". You will also see a folder in your Destination location (in my case Desktop location.)
- IE: "Export 1-3-2019 5-34-17 PM" appeared in my Desktop.
- Please wait.
- Note: The export may take several minutes to multiple hours based on the time frame, quality, codec, and other factors.
- Completed. A remark should indicate that the export was completed successfully. Click on the "Details" button to view the "Export location:".
- Go to the folder where the files were exported. You will see a sub-folder "Media player format". Open the sub-folder, and then double-click on the sub-folder camera view.
- Double click on the exported files to preview. This should open "Windows Media Player".
- We may recommend that you right-click on the file. And select "Open with" and please open the file with "VLC media player". This may provide a better viewing experience.